
Chào mừng đến với Cafedev – nơi chia sẻ kiến thức và đam mê công nghệ! Hôm nay, chúng ta sẽ khám phá thế giới của Animated Loader trong Flutter. Cùng Cafedev trải nghiệm sức mạnh của Animated Loader và tận hưởng cách nó hoạt động thông qua mã nguồn Flutter. Bạn có thể linh hoạt sửa đổi mã theo ý muốn. Hãy cùng nhau khám phá và biến ý tưởng thành hiện thực với **Animated Loader**. Đừng quên theo dõi để cập nhật những kiến thức mới nhất từ Cafedev!”
Loader được sử dụng khi ứng dụng đang tải dữ liệu từ Giao diện lập trình ứng dụng hoặc Cơ sở dữ liệu. Loader giúp hiển thị trạng thái tải khi ứng dụng đang trong trạng thái tải dữ liệu.
Bài viết này sẽ Khám Phá Animated Loader Trong Flutter. Chúng ta sẽ tìm hiểu cách thực hiện một chương trình demo và làm thế nào chúng ta có thể tạo một animated loader bằng gói loading_animation_widget trong ứng dụng Flutter của bạn.
Đối với Animation Loading:
loading_animation_widget | Gói Flutter
Nội dung chính
1. Giới Thiệu:
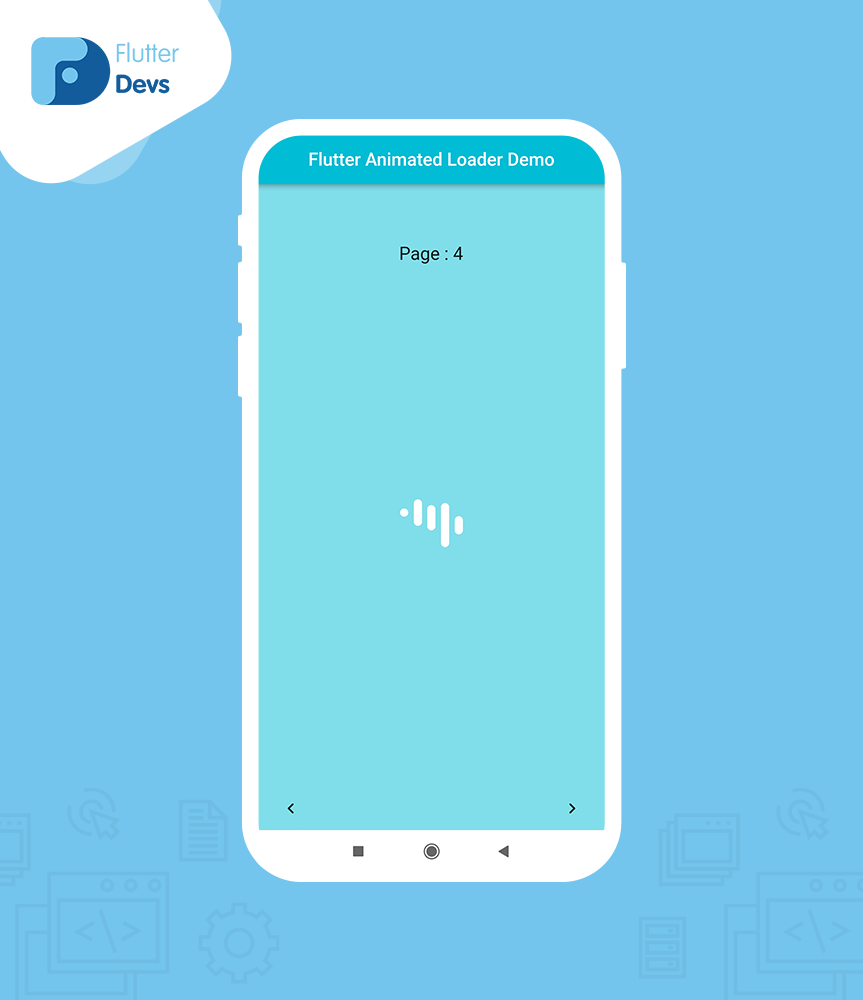
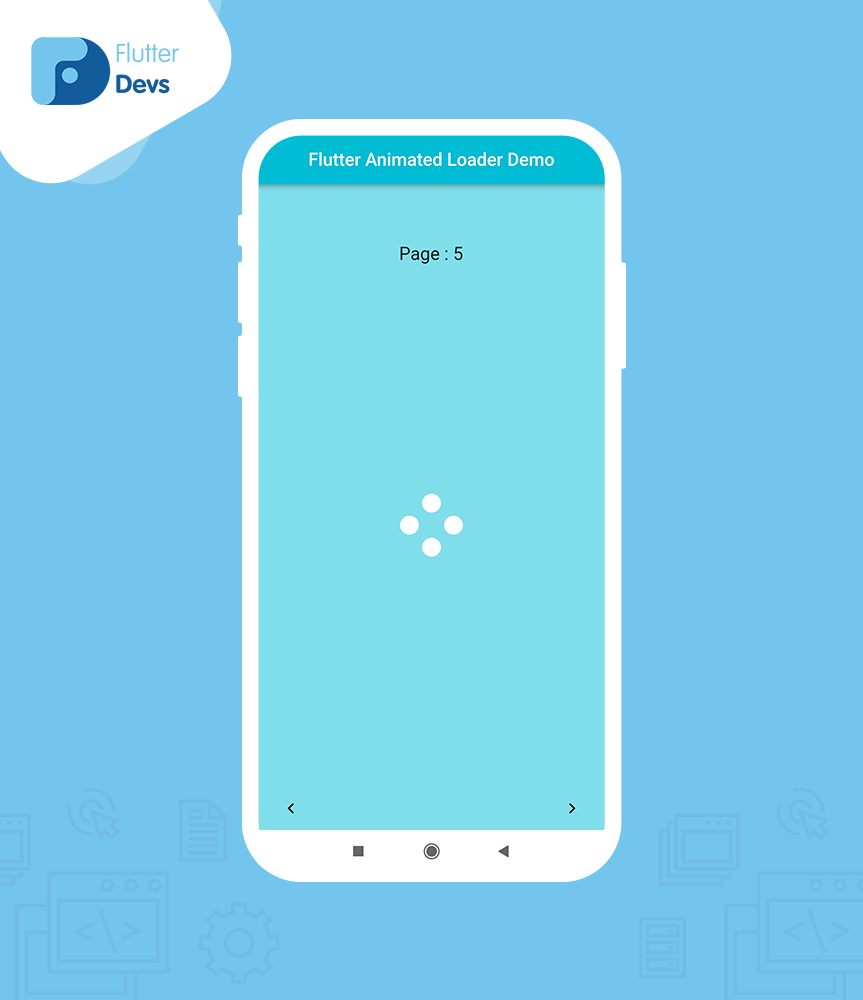
Video demo này thể hiện cách tạo một animated loader trong Flutter và cách một animated loader sẽ hoạt động bằng cách sử dụng gói loading_animation_widget trong ứng dụng Flutter của bạn. Chúng ta sẽ hiển thị cho người dùng các loại loader khác nhau. Người dùng có thể chọn một trong những loader cho dự án của mình. Nó sẽ được hiển thị trên thiết bị của bạn.
2. Mô-đun Demo ::
3. Thực Hiện:
Bước 1: Thêm các phụ thuộc
Thêm các phụ thuộc vào tệp pubspec.yaml.
dependencies:
  flutter:
    sdk: flutter
  loading_animation_widget: ^1.2.0+4
Bước 2: Nhập
import 'package:loading_animation_widget/loading_animation_widget.dart';
Bước 3: Chạy flutter packages get trong thư mục gốc của ứng dụng của bạn.
4. Cách thực hiện code trong tệp dart:
Bạn cần thực hiện nó trong mã của bạn theo thứ tự:
Tạo một tệp dart mới có tên
_main.dart_bên trong thư mục_lib_.
Chúng ta nên điều chỉnh tệp main.dart của mình. Chúng ta muốn tạo một lớp mới AnimatedLoaderDemo(). Trong **** lớp này đầu tiên, chúng ta sẽ thêm một biến _pageController.
late PageController _pageController;
Chúng ta sẽ tạo một biến số nguyên pageNo bằng không.
int _pageNo = 0;
Bây giờ, chúng ta sẽ thêm phương thức **initState() ** . Trong phương thức này, chúng ta sẽ thêm một _pageController bằng PageController(initialPage: _pageNo).
@override
void initState() {
  super.initState();
  _pageController = PageController(initialPage: _pageNo);
}
Chúng ta sẽ thêm mã vào phương thức build. Dưới đây chúng ta sẽ định nghĩa _forPreviousPage , _forNextPage , và animationList với mã.
@override
Widget build(BuildContext context) {
  return PageView(
    physics: const NeverScrollableScrollPhysics(),
    controller: _pageController,
    children: animationList
        .map(
          (appBody) => Scaffold(
            backgroundColor: Colors.cyan.shade200,
            appBar: (AppBar(
              automaticallyImplyLeading: false,
              title: const Text("Flutter Animated Loader Demo"),
              centerTitle: true,
              backgroundColor: Colors.cyan,
            )),
            body: Column(
              crossAxisAlignment: CrossAxisAlignment.center,
              children: [
                SizedBox(
                  height: MediaQuery.of(context).size.width / 6,
                ),
                Text(
                  "Page : $_pageNo",
                  style: const TextStyle(fontSize: 20),
                ),
                Expanded(
                  child: Center(
                    child: appBody.widget,
                  ),
                ),
              ],
            ),
            bottomNavigationBar: SafeArea(
              top: false,
              child: Padding(
                padding: const EdgeInsets.symmetric(horizontal: 16.0),
                child: Row(
                  mainAxisAlignment: MainAxisAlignment.spaceBetween,
                  children: [
                    IconButton(
                      icon: const Icon(
                        Icons.chevron_left_rounded,
                      ),
                      onPressed: _forPreviousPage,
                    ),
                    IconButton(
                      icon: const Icon(
                        Icons.chevron_right_rounded,
                      ),
                      onPressed: _forNextPage,
                    ),
                  ],
                ),
              ),
            ),
          ),
        )
        .toList(),
  );
}
Bây giờ chúng ta sẽ thêm phương thức **__forNextPage() ** . Trong phương thức này, có ích để chuyển đến trang tiếp theo._
void _forNextPage() {
  if (_pageNo + 1 < animationList.length) {
    _pageController.jumpToPage(_pageNo + 1);
    setState(() {
      _pageNo++;
    });
  } else {
    _pageController.animateToPage(
      0,
      duration: const Duration(milliseconds: 800),
      curve: Curves.ease,
    );
    setState(() {
      _pageNo = 0;
    });
  }
}
Bây giờ chúng ta sẽ thêm phương thức **__forPreviousPage() ** . Trong phương thức này, có ích để chuyển đến trang trước đó._
void _forPreviousPage() {
  if (_pageNo == 0) {
    ScaffoldMessenger.of(context).showSnackBar(
      const SnackBar(
        content: Text(
          'Not any Page form Previous',
        ),
      ),
    );
  } else {
    _pageController.jumpToPage(_pageNo - 1);
    setState(() {
      _pageNo--;
    });
  }
}
Bây giờ, chúng ta sẽ tạo một lớp mới có tên là AppBody và mã là như sau.
class AppBody {
  final String title;
  final Widget widget;

  AppBody(
    this.title,
    this.widget,
  );
}
Bây giờ chúng ta sẽ thêm **animationList. ** Chúng ta cần tạo một List có tên loại giống như tên của lớp trên.
final animationList = <AppBody>[
AppBody(
'Loader',
const Text(
'Total animations: 5',
textAlign: TextAlign.center,
style: TextStyle(
fontSize: 18,
),
),
),
AppBody(
'inkDropLoader',
LoadingAnimationWidget.waveDots(
color: Colors.redAccent,
size: 70,
),
),
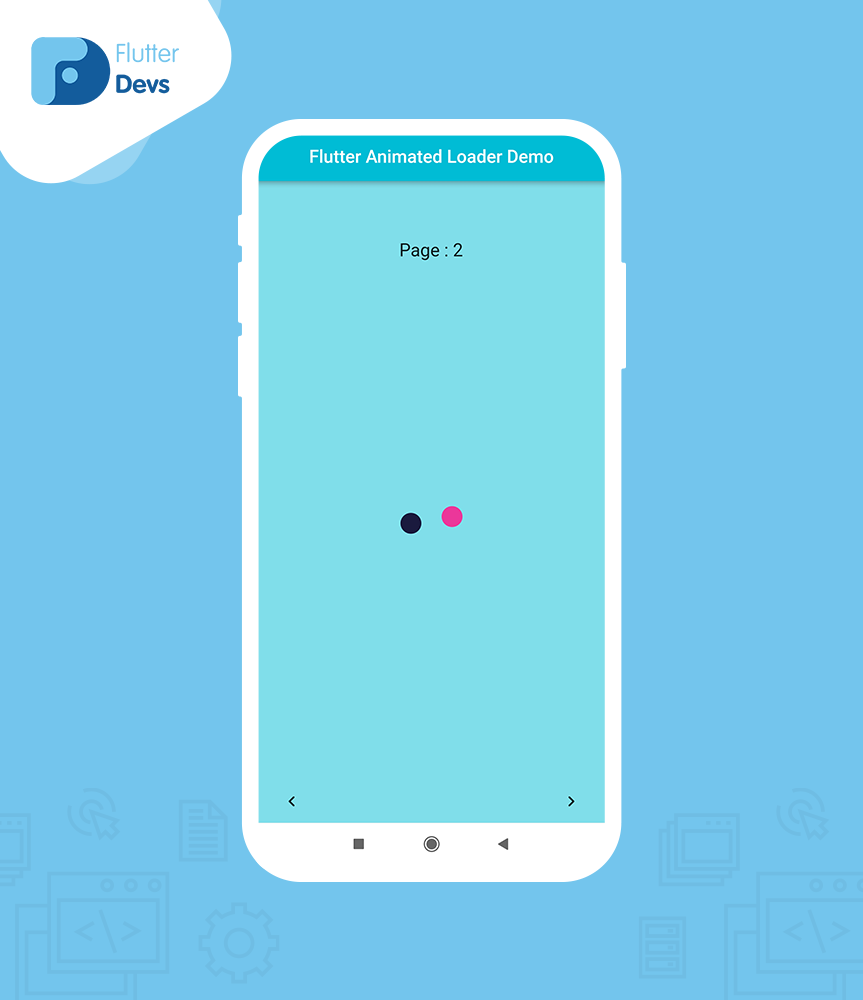
AppBody(
'twistingDotsLoader',
LoadingAnimationWidget.twistingDots(
leftDotColor: const Color(0xFF1A1A3F),
rightDotColor: const Color(0xFFEA3799),
size: 70,
),
),
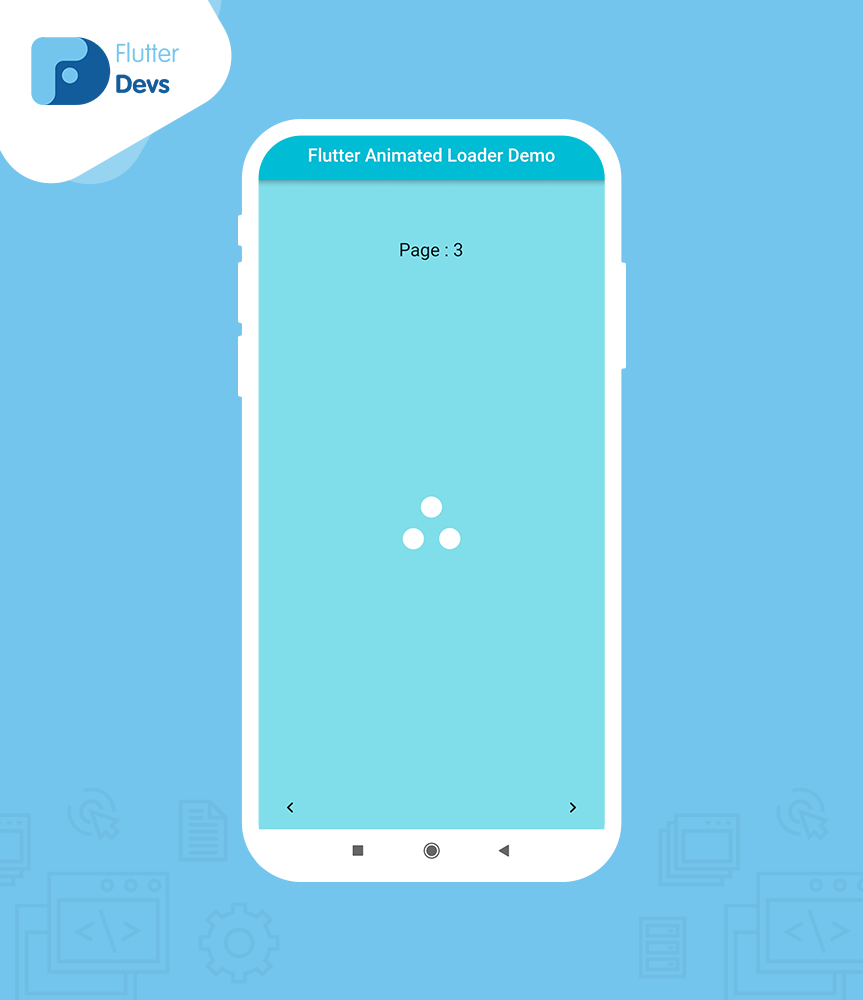
AppBody(
'threeRotatingDotsLoader',
LoadingAnimationWidget.threeRotatingDots(
color: Colors.white,
size: 70,
),
),
AppBody(
'staggeredDotsWaveLoader',
LoadingAnimationWidget.staggeredDotsWave(
color: Colors.white,
size: 70,
),
),
AppBody(
'fourRotatingDotsLoader',
LoadingAnimationWidget.fourRotatingDots(
color: Colors.white,
size: 70,
),
),
];
Khi chúng ta chạy ứng dụng, chúng ta nên nhận đầu ra màn hình như hình ảnh màn hình dưới đây.

5. Tệp mã:
import 'package:flutter/material.dart';
import 'package:loading_animation_widget/loading_animation_widget.dart';

class AnimatedLoaderDemo extends StatefulWidget {
  const AnimatedLoaderDemo({Key? key}) : super(key: key);

  @override
  State<AnimatedLoaderDemo> createState() => _AnimatedLoaderDemoState();
}

class _AnimatedLoaderDemoState extends State<AnimatedLoaderDemo> {
  late PageController _pageController;
  int _pageNo = 0;

  @override
  void initState() {
    super.initState();
    _pageController = PageController(initialPage: _pageNo);
  }

  @override
  Widget build(BuildContext context) {
    return PageView(
      physics: const NeverScrollableScrollPhysics(),
      controller: _pageController,
      children: animationList
          .map(
            (appBody) => Scaffold(
              backgroundColor: Colors.cyan.shade200,
              appBar: (AppBar(
                automaticallyImplyLeading: false,
                title: const Text("Flutter Animated Loader Demo"),
                centerTitle: true,
                backgroundColor: Colors.cyan,
              )),
              body: Column(
                crossAxisAlignment: CrossAxisAlignment.center,
                children: [
                  SizedBox(
                    height: MediaQuery.of(context).size.width / 6,
                  ),
                  Text(
                    "Page : $_pageNo",
                    style: const TextStyle(fontSize: 20),
                  ),
                  Expanded(
                    child: Center(
                      child: appBody.widget,
                    ),
                  ),
                ],
              ),
              bottomNavigationBar: SafeArea(
                top: false,
                child: Padding(
                  padding: const EdgeInsets.symmetric(horizontal: 16.0),
                  child: Row(
                    mainAxisAlignment: MainAxisAlignment.spaceBetween,
                    children: [
                      IconButton(
                        icon: const Icon(
                          Icons.chevron_left_rounded,
                        ),
                        onPressed: _forPreviousPage,
                      ),
                      IconButton(
                        icon: const Icon(
                          Icons.chevron_right_rounded,
                        ),
                        onPressed: _forNextPage,
                      ),
                    ],
                  ),
                ),
              ),
            ),
          )
          .toList(),
    );
  }

  void _forNextPage() {
    if (_pageNo + 1 < animationList.length) {
      _pageController.jumpToPage(_pageNo + 1);
      setState(() {
        _pageNo++;
      });
    } else {
      _pageController.animateToPage(
        0,
        duration: const Duration(milliseconds: 800),
        curve: Curves.ease,
      );
      setState(() {
        _pageNo = 0;
      });
    }
  }

  void _forPreviousPage() {
    if (_pageNo == 0) {
      ScaffoldMessenger.of(context).showSnackBar(
        const SnackBar(
          content: Text(
            'Not any Page form Previous',
          ),
        ),
      );
    } else {
      _pageController.jumpToPage(_pageNo - 1);
      setState(() {
        _pageNo--;
      });
    }
  }
}

class AppBody {
  final String title;
  final Widget widget;

  AppBody(
    this.title,
    this.widget,
  );
}

final animationList = <AppBody>[
  AppBody(
    'Loader',
    const Text(
      'Total animations: 5',
      textAlign: TextAlign.center,
      style: TextStyle(
        fontSize: 18,
      ),
    ),
  ),
  AppBody(
    'inkDropLoader',
    LoadingAnimationWidget.waveDots(
      color: Colors.redAccent,
      size: 70,
    ),
  ),
  AppBody(
    'twistingDotsLoader',
    LoadingAnimationWidget.twistingDots(
      leftDotColor: const Color(0xFF1A1A3F),
      rightDotColor: const Color(0xFFEA3799),
      size: 70,
    ),
  ),
  AppBody(
    'threeRotatingDotsLoader',
    LoadingAnimationWidget.threeRotatingDots(
      color: Colors.white,
      size: 70,
    ),
  ),
  AppBody(
    'staggeredDotsWaveLoader',
    LoadingAnimationWidget.staggeredDotsWave(
      color: Colors.white,
      size: 70,
    ),
  ),
  AppBody(
    'fourRotatingDotsLoader',
    LoadingAnimationWidget.fourRotatingDots(
      color: Colors.white,
      size: 70,
    ),
  ),
];
5. Kết Luận:
Trong bài viết, Cafedev đã giải thích về Animated Loader trong Flutter; bạn có thể sửa đổi mã này theo ý muốn của mình. Đây là một giới thiệu nhỏ về Animated Loader On User Interaction, và nó hoạt động bằng cách sử dụng Flutter.
Cafedev hy vọng bài này sẽ cung cấp đủ thông tin để thử nghiệm Animated Loader trong dự án Flutter của bạn. Chúng tôi sẽ chỉ bạn cái gì là Giới thiệu. Tạo một chương trình minh họa để làm việc với Animated Loader bằng gói loading_animation_widget trong ứng dụng Flutter của bạn. Vì vậy, hãy thử nó.
Cảm ơn bạn đã dành thời gian cùng Cafedev để khám phá Animated Loader trong Flutter. Hy vọng rằng hành trình này đã mang lại cho bạn những hiểu biết mới và nguồn động viên để sáng tạo. Nếu có bất kỳ thắc mắc hoặc ý kiến, hãy chia sẻ tại Cafedev để chúng ta cùng học hỏi. Đừng quên đón đọc những bài viết tiếp theo và luôn là một phần của cộng đồng sôi động tại Cafedev. Chân thành cảm ơn và hẹn gặp lại!”
Các nguồn kiến thức MIỄN PHÍ VÔ GIÁ từ cafedev tại đây
Nếu bạn thấy hay và hữu ích, bạn có thể tham gia các kênh sau của Cafedev để nhận được nhiều hơn nữa:
Chào thân ái và quyết thắng!


 trong C++")

